Tableau Hierarchy – the Better Way

A hierarchy feature can make your data well structured and let your users intuitively interact with it. Nothing can’t compare to a great usability and overall UX, however, the native implementation of the hierarchy feature in Tableau doesn’t really help with that. In fact, your users will have to find that minute “plus” sign on the corner of the table before they can see the result. That might not sound as bad for people familiar with the feature but for the rest this means poor user experience. Does this mean you should give up on hierarchy? Not at all! You just need to make the use of it intuitive. Let’s give it a shot!
Instead of using build-in “+” let’s leverage a well-familiar drop-down menu. So here it goes.
Step 1. Create a parameter
– Name: Hierarchy Parameter
– Data Type: String
– Allowable values: List
– In the “List of values” section type the field names which will be used in the hierarchy
– Click OK
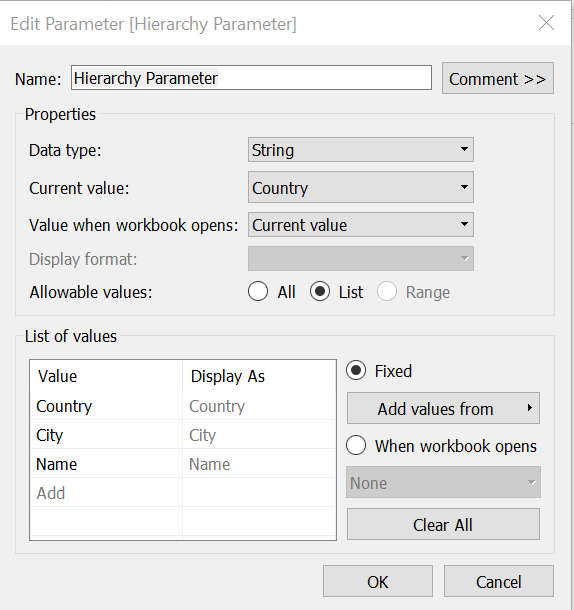
– Right click on Hierarchy Parameter and select Show Parameter Control
Step 2. Create a Calculated Field #1
Pick the last field in your hierarchy (in our case it’s Name field)
IF [Hierarchy Parameter]=’Name’ THEN [Name]
ELSE ‘’
END 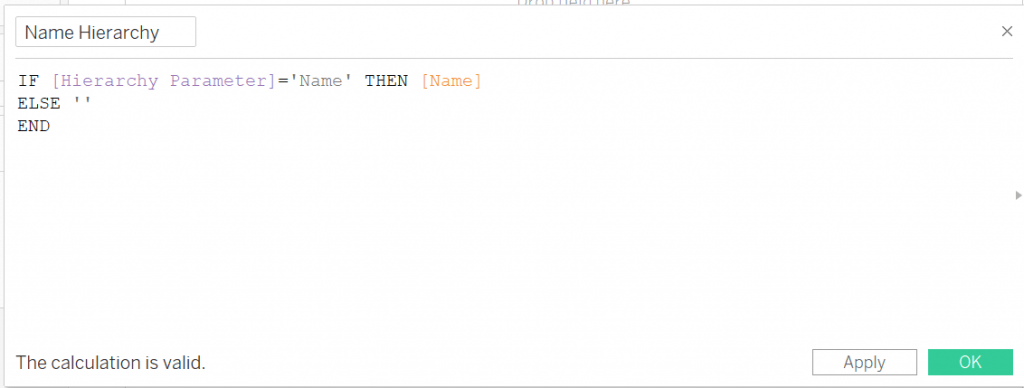
Step 3. Create a Calculated Field #2
Pick the 2nd field in your hierarchy (in our case it’s City field)
 IF [Hierarchy Parameter]=’City’ or [Hierarchy Parameter]=’Name’
 THEN [City]
 ELSE ‘’
END 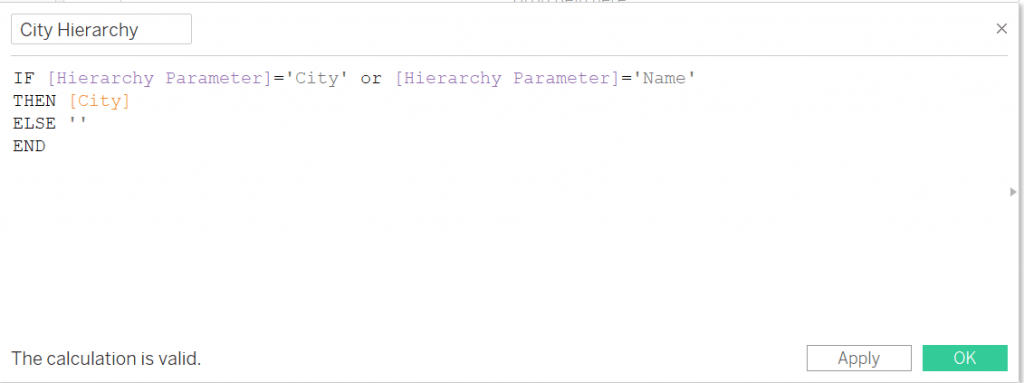
Step 4. Wrapping things up
First field will always be visible, so we don’t have to create a calculated field for it, just drag the field to the rows and then repeat that for the other two calculated fields. Here how it’s look like:
Note: if you need a mock data to fill out the database or for the testing purposes, feel free to visit https://gocloud7.com/mock-data-generator/ where you can generate the data for free!